10 Essential Yoga Poses for Beginners
Yoga Energized is reader-supported. When you buy through links on our site, we may earn an affiliate commission at no extra cost to you.
If you are brand new to the mat, learning a handful of foundational yoga poses for beginners is the fastest way to feel steadier, calmer, and more at home in your body. This guide walks you through ten essential shapes you can practice at home, each with simple steps, the main benefit, and a friendly modification so nothing feels out of reach. It is written for beginner-to-intermediate home practitioners who want to build a real, lasting practice. New to all of this? Our complete guide for beginners is a gentle place to start.
Your 10 Foundational Yoga Poses
Take these one at a time. There is no prize for rushing, and the point is to notice how each shape feels rather than to force it to look a certain way. Breathe slowly through your nose throughout, and let the breath set the pace.
1. Mountain Pose (Tadasana)
Mountain Pose looks like “just standing,” but it quietly teaches you the alignment every other pose borrows from.
- Stand with your feet hip-width apart, weight even across both soles.
- Lengthen up through the crown of your head and let your shoulders settle down and back.
- Let your arms rest at your sides, palms facing forward, and breathe steadily.
Main benefit: Builds postural awareness and a grounded, balanced stance.
Beginner tip: Gently rock forward and back, then side to side, to find your true center before settling.
2. Downward-Facing Dog (Adho Mukha Svanasana)
This is the pose that shows up in nearly every class, and it stretches and strengthens almost everything at once.
- Start on your hands and knees, hands slightly ahead of your shoulders.
- Tuck your toes and lift your hips up and back toward the ceiling, forming an upside-down V.
- Keep a slight bend in your knees and press the floor away through your hands.
Main benefit: Lengthens the hamstrings, calves, and spine while building upper-body strength.
Beginner tip: Bend your knees generously and let your heels float. Reaching the floor with your heels is not the goal.
3. Child’s Pose (Balasana)
Child’s Pose is your home base. Return to it any time you need a breather, in any session.
- Kneel and bring your big toes together, knees as wide as feels comfortable.
- Sink your hips back toward your heels and walk your hands forward.
- Rest your forehead on the mat and let your whole back soften.
Main benefit: Releases the lower back and hips and calms the nervous system.
Beginner tip: If your hips do not reach your heels, tuck a folded blanket or cushion between them for support.
4. Cat-Cow (Marjaryasana–Bitilasana)
Technically two poses flowing together, Cat-Cow is the kindest way to wake up a stiff spine.
- Begin on hands and knees, wrists under shoulders and knees under hips.
- Inhale as you drop your belly, lift your chest and gaze — that’s Cow.
- Exhale as you round your spine and tuck your chin — that’s Cat. Keep flowing with your breath.
Main benefit: Improves spinal mobility and links movement to breath.
Beginner tip: Pad sensitive knees with a folded towel, and keep the movement small and smooth.
5. Cobra Pose (Bhujangasana)
A gentle backbend that counteracts all the hours we spend hunched over screens.
- Lie face down with your hands under your shoulders and elbows hugged in.
- Press the tops of your feet into the mat and lightly lift your chest.
- Keep your shoulders relaxed and let your lower back do little of the work.
Main benefit: Strengthens the back body and opens the chest and shoulders.
Beginner tip: Stay low. A small, comfortable lift with the elbows bent protects your lower back. If you deal with ongoing back pain, our poses for back pain offer gentler options.
6. Standing Forward Fold (Uttanasana)
A soothing release for the back of the body and a quiet moment to let your head hang.
- From Mountain Pose, hinge at your hips and fold forward.
- Let your hands rest on your shins, the floor, or opposite elbows.
- Soften your neck and let gravity lengthen your spine.
Main benefit: Stretches the hamstrings and spine and relieves tension.
Beginner tip: Bend your knees as much as you need. A generous bend keeps the stretch in your muscles, not your joints.
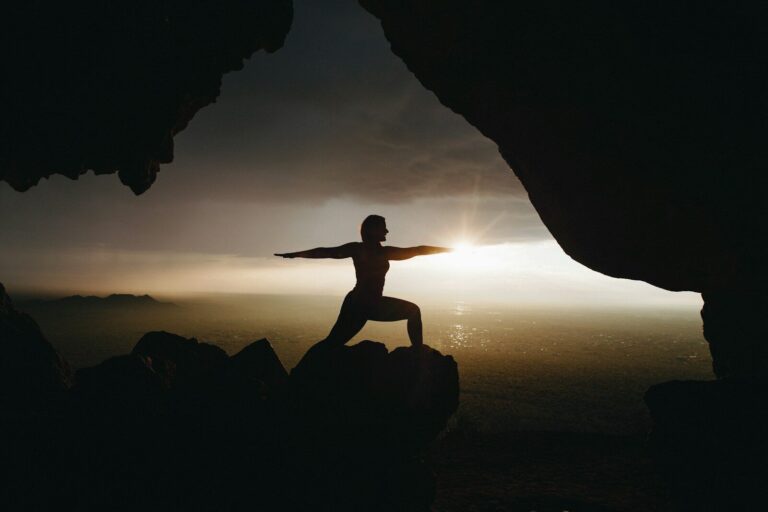
7. Warrior II (Virabhadrasana II)
A strong, steady standing pose that builds both stamina and focus.
- Step your feet wide apart. Turn your front foot out and angle your back foot slightly in.
- Bend your front knee toward a 90-degree angle, tracking it over your ankle.
- Extend your arms parallel to the floor and gaze over your front hand.
Main benefit: Strengthens the legs and core while improving concentration and endurance.
Beginner tip: Shorten your stance if your front knee drifts past your ankle. Comfort beats depth every time.
8. Bridge Pose (Setu Bandha Sarvangasana)
A friendly backbend and chest opener that also wakes up the glutes.
- Lie on your back with knees bent and feet hip-width apart, close to your hips.
- Press into your feet and lift your hips toward the ceiling.
- Roll your shoulders under and clasp your hands beneath you if it feels good.
Main benefit: Strengthens the back, glutes, and legs while opening the chest.
Beginner tip: Slide a yoga block under your sacrum for a fully supported, restful version.
9. Tree Pose (Vrksasana)
The classic balance pose — and a cheerful reminder that wobbling is part of the practice.
- From Mountain Pose, shift your weight onto one foot.
- Place the sole of your other foot on your ankle, calf, or inner thigh — never directly on the knee.
- Bring your hands to your heart or overhead and fix your gaze on a steady point.
Main benefit: Improves balance, focus, and ankle and hip stability.
Beginner tip: Keep your toes lightly on the floor like a kickstand, or rest a hand on a wall until balancing feels natural.
10. Corpse Pose (Savasana)
The final rest, and often the hardest pose of all because it asks you to simply be still.
- Lie flat on your back with your legs extended and arms a little away from your sides.
- Let your feet fall open and your palms turn upward.
- Close your eyes and let your breath return to its natural rhythm for a few minutes.
Main benefit: Integrates your practice and invites deep relaxation.
Beginner tip: Place a rolled blanket under your knees to ease the lower back and help you settle.
Putting the Poses Together
Once these shapes feel familiar, you can string them into a gentle flow. A simple order might be Mountain, a few rounds of Cat-Cow, Downward Dog, a Standing Forward Fold, Warrior II on each side, then down to the mat for Cobra and Bridge, Tree to finish standing, and always Child’s Pose and Corpse Pose to close. Move with your breath and pause in Child’s Pose whenever you need it. When you are ready for a set sequence, our sun salutation walkthrough and this easy 15-minute morning routine show you how to put these poses to work.
A few words on safety: a sticky, supportive mat makes a real difference for comfort and grip — a well-reviewed option like a Manduka mat can be worth it once you are practicing regularly. Warm up gently, never push into sharp pain, and remember that some discomfort in a stretch is fine while pain is a signal to ease off. If you are pregnant, recovering from an injury, or managing an ongoing condition, check with a doctor or a qualified yoga teacher before starting. Above all, be patient with yourself. These ten poses are a foundation you will return to for years, and every practice counts.